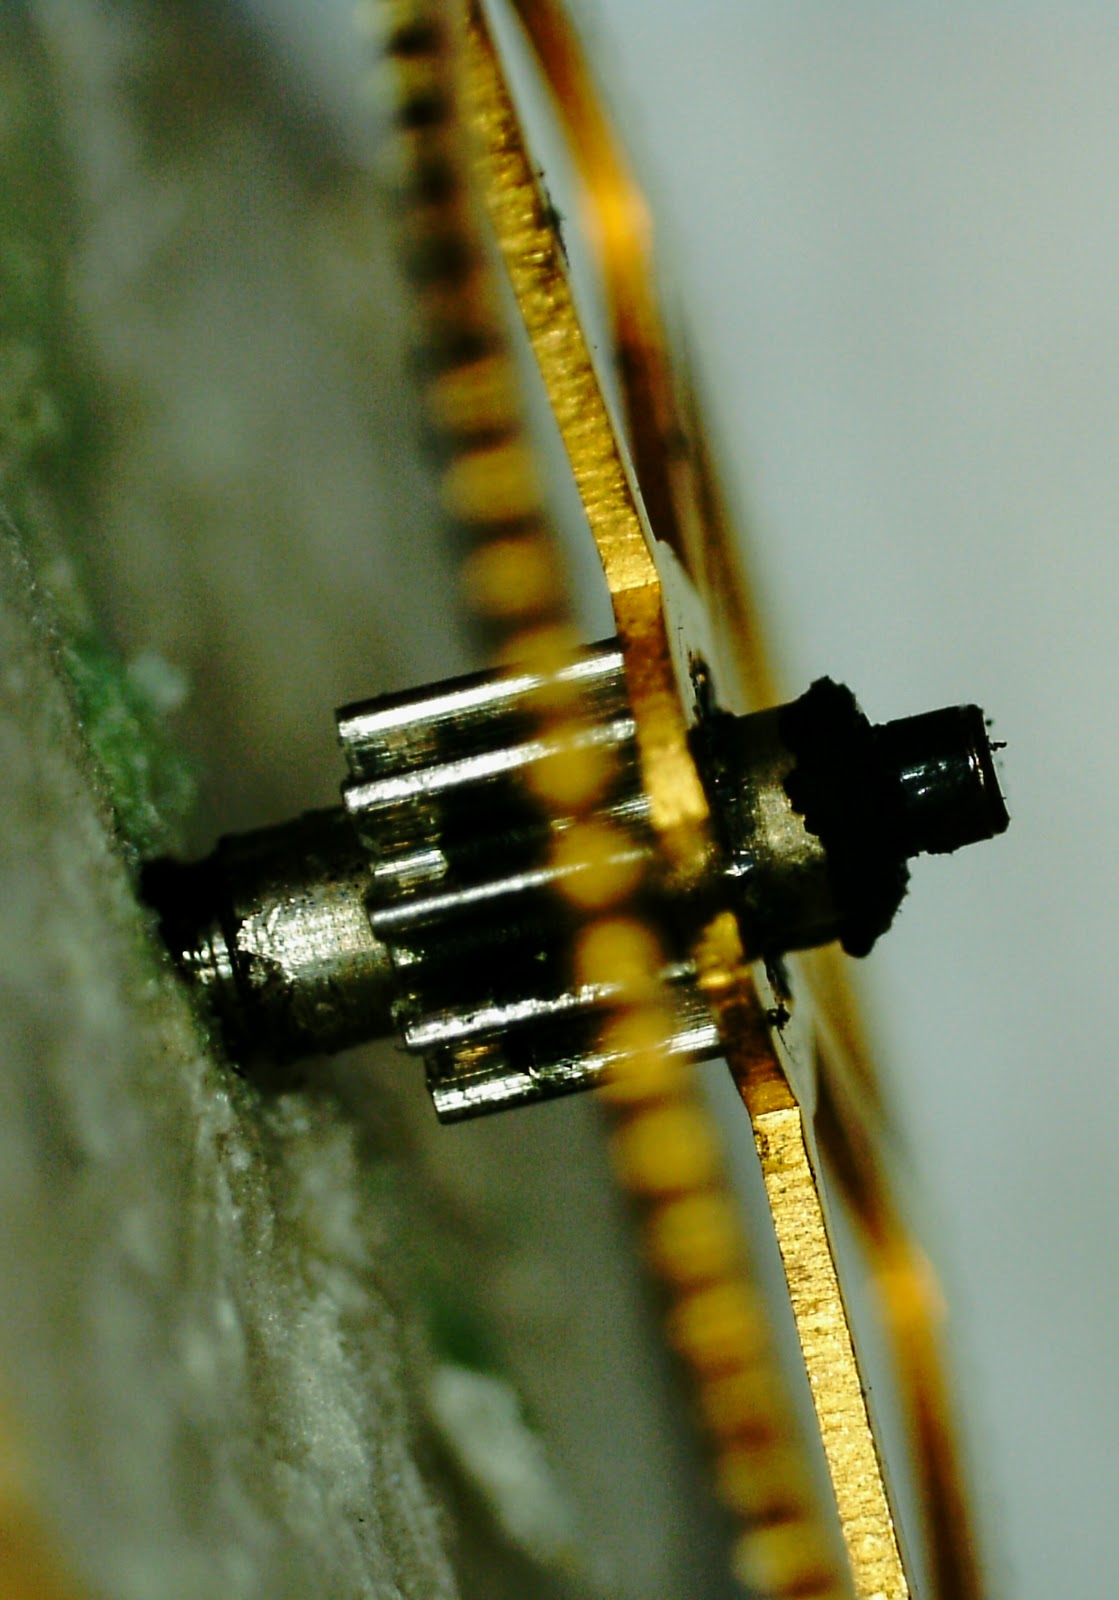
Information on SMITHS Braille Watches
I have been searching the internet for information on the SMITHS
Braille Watch and I have to thank Roger Waters who is on the Watch Lessons
Facebook group for the following information.
I have a number of the Braille pocket watches and wristwatches they belonged to my late father who was blinded in WW2.
The watches
where issued to blind servicemen and women from the 1st and 2nd WW.
The watches where issued free by the Ministry of War Pensions via an organisation called St Dunstan’s now rebranded Blind Veterans UK
The watch dial is in the correct place (12 in 9 positions).

You were taught to open the watch using your right hand and use the left hand to tell the time. The biggest causality of the Pocket and wrist was the face lid breaking off. Broken or damaged Watches where returned to Smiths and reissued on a one for one basis. Issue of the Braille watches ended in the late 1970s when the talking watches became available.

You were taught to open the watch using your right hand and use the left hand to tell the time. The biggest causality of the Pocket and wrist was the face lid breaking off. Broken or damaged Watches where returned to Smiths and reissued on a one for one basis. Issue of the Braille watches ended in the late 1970s when the talking watches became available.
You will see Braille pocket watches with RNIB (Royal National Institute for the
Blind) on the face, You had to purchase these because you did not come under
the war pension criteria.
The hands are much thicker and shorter than a standard watch
when you got a replacement watch from Smiths the hands where mat Black.